
Whiteboard Animation Storyboard Template: A Worked Example
Plan what the viewer hears, sees and needs to understand before you animate. Includes a reusable storyboard table and an original six-scene example.
A script can sound clear until you try to draw it. One sentence asks for a person, a desk, a calendar and a branching process. Another sentence says "make it simpler" without naming anything the viewer can see.
A whiteboard animation storyboard catches those problems before they become finished scenes. It pairs the words with a visual change and makes you decide what stays on the board, what appears next and where the viewer should look.
You don't need polished drawings to do this. A table and a few rough boxes are enough. The useful question isn't "does this look like a finished video?" It's "could someone else understand what this scene needs to explain?"
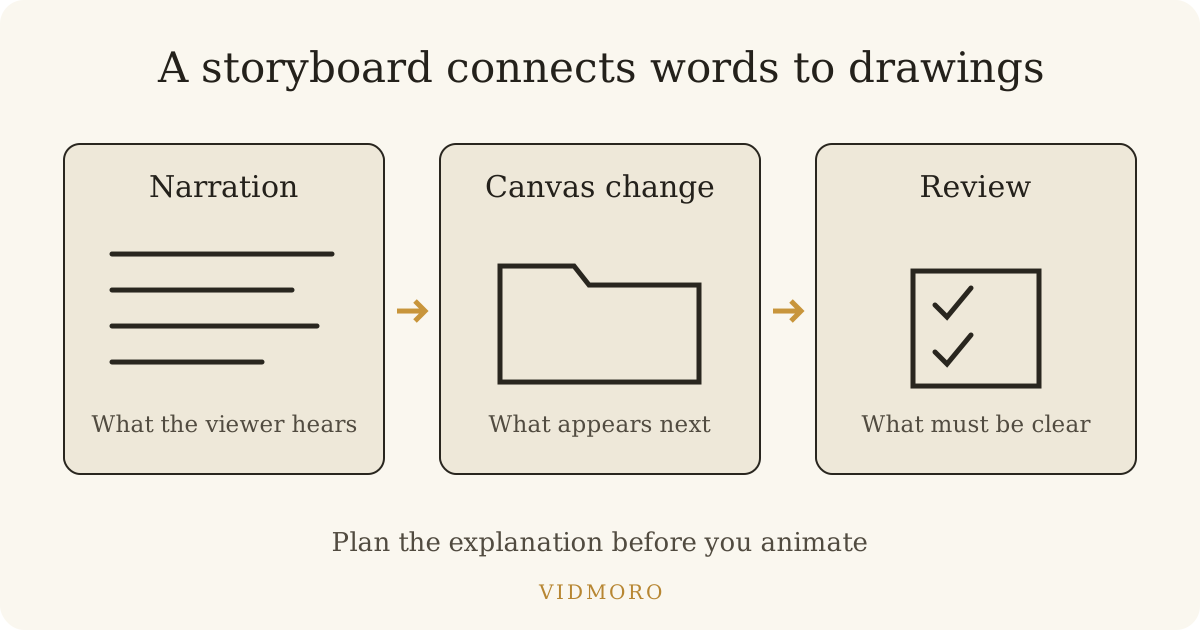
What a whiteboard storyboard should contain
For a short explainer, I would use five columns: the scene's job, narration, the opening picture, the change on screen and a review note. This separates the finished image from the process of revealing it.
That last distinction matters. A diagram might be easy to understand when every part is visible, yet confusing while it builds. If the narrator explains the final result before the relevant arrow has appeared, the audience has to remember the words and wait for the picture.
Adobe's whiteboard animation guide puts the script and storyboard before production, then describes lining up illustrations with the voiceover in editing. Voomly's production guide also treats storyboarding as a way to check the fit between narration and drawings before animating.
The template below follows that planning principle. The columns and example are an original worksheet, not a required format for any particular app.
Copy this whiteboard animation storyboard template
| Scene job | Narration | Opening picture | Change on screen | Review note |
|---|---|---|---|---|
| Name the situation | What does the viewer hear first? | What is already visible? | What appears or changes? | What must be clear before moving on? |
| Show the difficulty | What specifically goes wrong? | Keep a familiar object if useful. | Reveal the missing step or confusing choice. | Does the image explain the problem rather than decorate it? |
| Introduce the method | What is the main idea? | Use a simple starting state. | Draw the structure that holds the explanation. | Is the structure readable at the intended size? |
| Explain the steps | What does the viewer do or learn? | Keep the structure in place. | Add one meaningful change at a time. | Do the words and reveal order agree? |
| Show the result | What has changed? | Return to the original situation. | Complete the process or show the comparison. | Is the outcome supported by the explanation? |
| Give the next action | What should happen after watching? | Hold the useful final picture. | Add one short action label if needed. | Is there one clear next step? |
These are scene jobs, not a six-scene rule. A simple video can combine two rows. A more involved process may need several scenes for the steps. Don't stretch a clear explanation to fill a template, or compress it until the narration rushes ahead of the drawings.
For the first pass, write plain descriptions such as "draw three empty boxes" or "highlight the selected folder." Save camera movements, decorative characters and detailed art direction for a later pass, when the explanation works.
Worked example: a shared project folder
Suppose a small volunteer group wants a short onboarding video explaining where to save project files. The group's example workflow has three folders: Working, Review and Approved.
This is a fictional process for the worksheet. It isn't a universal file-management standard or a claim about a real team's results. Substitute your actual names, access rules and approval steps before using it.
The video's goal is narrow: after watching, a new volunteer should know which of the three folders matches the current state of their file. It doesn't try to teach permissions, naming conventions, backups and every feature of a storage app at once.
The narration draft
Can't find the latest project file? Start with its stage, not the name of the person who sent it.
In this example, the project has three folders: Working, Review and Approved.
Save an unfinished draft in Working. This is where the author can keep developing it.
When the draft is ready for feedback, put a review copy in Review and tell the reviewer what needs checking. A file in this folder is ready to discuss, not ready to publish.
After the designated approver signs it off, save the approved version in Approved. Keep the status clear instead of treating every shared draft as final.
Before sharing a link, check the folder and the file's status. Working, Review or Approved: choose the stage that matches the file today.
Read that aloud before assigning a duration. The script is a starting draft, not a promise of an exact runtime. Pauses, pronunciation and the time needed to understand a new diagram all affect the finished length.
The six-scene storyboard
| Scene | Words to cover | Opening picture and reveal | What to check |
|---|---|---|---|
| 1. Find the starting question | "Can't find the latest project file?" | Draw one file card beside a question mark. Keep the rest of the board empty. | The problem is finding status, not a claim that the software lost a file. |
| 2. Establish the map | "Three folders: Working, Review and Approved." | Replace the question mark with three clearly labelled folder outlines. Keep the file card nearby. | Labels are readable and remain in the same order throughout. |
| 3. Show a draft | "Save an unfinished draft in Working." | Highlight Working and connect the file card to it. Leave the other folders unhighlighted. | The viewer can tell which folder is active without relying only on colour. |
| 4. Request feedback | "Ready for feedback ... not ready to publish." | Highlight Review. Add a small comment symbol beside the file, then hold. | The picture doesn't imply that receiving comments means approval. |
| 5. Mark approval | "After the designated approver signs it off..." | Show an approval mark on the file, then highlight Approved. | The approval comes before the final-folder change. No automatic approval is implied. |
| 6. Give the next action | "Before sharing a link, check the folder and the file's status." | Hold all three labelled folders. Add the short prompt "Check the stage." | The closing picture reinforces the decision rather than introducing another process. |
The same folders carry the explanation from beginning to end. That is a choice for this example, not a requirement that every whiteboard video use a persistent canvas. A fresh board can be clearer when the next idea needs a different layout.
Notice the review notes. They catch meaning errors that an attractive drawing might hide: a review copy isn't an approved copy, and moving a file isn't the same as granting permission to publish it.
Plan the reveal, not only the final frame
Try reading each narration line while pointing to its matching object in a rough sketch. If you can't point to anything, decide whether the line needs a better visual or fewer words.
For the folder example, drawing all three folder labels before explaining any of them gives the audience a map. After that, the active stage can change without redrawing the whole scene. A small label or connector can make the change visible even in a monochrome version.
Don't make the viewer read a paragraph while the narrator says something different. Keep on-screen labels short enough to support the explanation. Captions serve a different purpose: they should accurately carry the spoken content, not become another set of competing headlines.
Also mark the moments when nothing new needs to appear. A finished diagram sometimes needs a hold so the viewer can inspect it. Constant motion isn't a substitute for a clear sequence.
Add timing after a read-through
A storyboard needs timing notes, but early notes can be relative: "finish the folder labels before explaining Working," "pause after the approval distinction," or "hold the full map at the end."
Those instructions describe the relationship between voice and image without inventing precise seconds. Once you have a recorded or generated voiceover, replace them with timings that match the actual audio.
If a scene feels crowded, don't solve it only by making the drawing faster. Split the idea, simplify the picture or cut the narration. A rushed reveal can leave every object technically present while the explanation still fails.
The same applies when a scene feels empty. Add a meaningful change only if it helps explain the words. Otherwise, shorten the scene or give the audience a deliberate moment to read the completed picture.
Review the storyboard before production
I would make a separate review pass for meaning, layout and audio. Trying to judge all of them at once makes it easy to approve a scene because the artwork looks good.
Meaning: Does each scene explain the intended point? Check every factual statement, number, policy and promised result against the source material. For internal training, have the person who owns the actual process confirm it.
Layout: Can you follow the sequence at the size people will watch? A desktop preview can hide tiny labels that become hard to read on a phone. Check that persistent objects leave room for later additions and captions.
Audio: Read the narration without looking at the board. It should still make sense. Then compare the audio with the storyboard and mark any object that arrives too late or disappears too soon.
For a longer draft, our faceless video script template offers another way to separate narration from scene planning. The format differs, but checking the words before rendering is useful in either workflow.
Using the plan with Vidmoro
Disclosure: I built Vidmoro. Its current FAQ describes an explainer agent that turns a script into a whiteboard animation drawn on screen with the narration. The broader workflow lets you review the script and scene plan before approving production.
Use a storyboard like this as planning material: explain the audience, the message, the objects that should remain consistent and any distinction the visuals must preserve. Review the returned plan rather than assuming your table will be imported as an exact animation specification.
The same FAQ lists short-form lengths of 30, 60, 90 or 120 seconds and US-English voices. Those limits matter before you prepare a long lesson or a multilingual training project. This worksheet is tool-independent; choose a production route that fits the actual brief.
Common questions
Do I need to draw well to make a storyboard?
No. For planning, rough boxes, labels and arrows can communicate the scene. Final illustration quality is a separate production decision. The storyboard's job is to expose what the explanation needs.
Should every sentence have its own scene?
Not necessarily. Several sentences can explain changes to one diagram. Split a scene when the idea, layout or visual focus needs to change, rather than because you reached a full stop.
How exact should the timing be?
Start with reveal order and pause notes. Use the actual narration to set precise timing later. A word-count estimate doesn't account for every voice, pause or drawing.
What should I hand to an animator or AI video tool?
Provide the audience and goal, the reviewed narration, the storyboard, necessary source material and any visual constraints. Say which details are mandatory and which are suggestions. That gives the next person or tool a clear brief without pretending the first draft is already the finished video.